How to Resurface Your Driveway: Concrete Renovation Tips

If your concrete driveway is looking slightly more flawed for wear, don't worry - there is hope! In this blog, we will discuss how to resurface your concrete driveway. This process can be a little tricky, but with the help of professional concreters, it can be done quickly and easily. We will go over the steps in the concrete renovation and some tips to make the process go smoothly. So if you're thinking about giving your driveway a fresh look, keep reading!
Step 1: Cleaning Clean the driveway surface.
Driveways have seen a lot of wear and tear over the years. They have to withstand the elements, as well as the constant flow of traffic. As a result, it's not surprising that dirt, dust, and debris can build up on the surface of a driveway. This build-up can lead to problems like staining or cracking if left unchecked. Fortunately, there is an easy way to keep your driveway in top condition: clean the surface regularly; this will remove any build-up and help to prevent damage. The most suitable way to clean a driveway is with a hose and a stiff brush. First, remove any large pieces of debris with the brush. Then wash away any smaller particles with the hose. Once you've finished cleaning, be sure to rinse off any soap or cleaners that you may have used. Following these simple steps can keep your driveway looking its best for years.
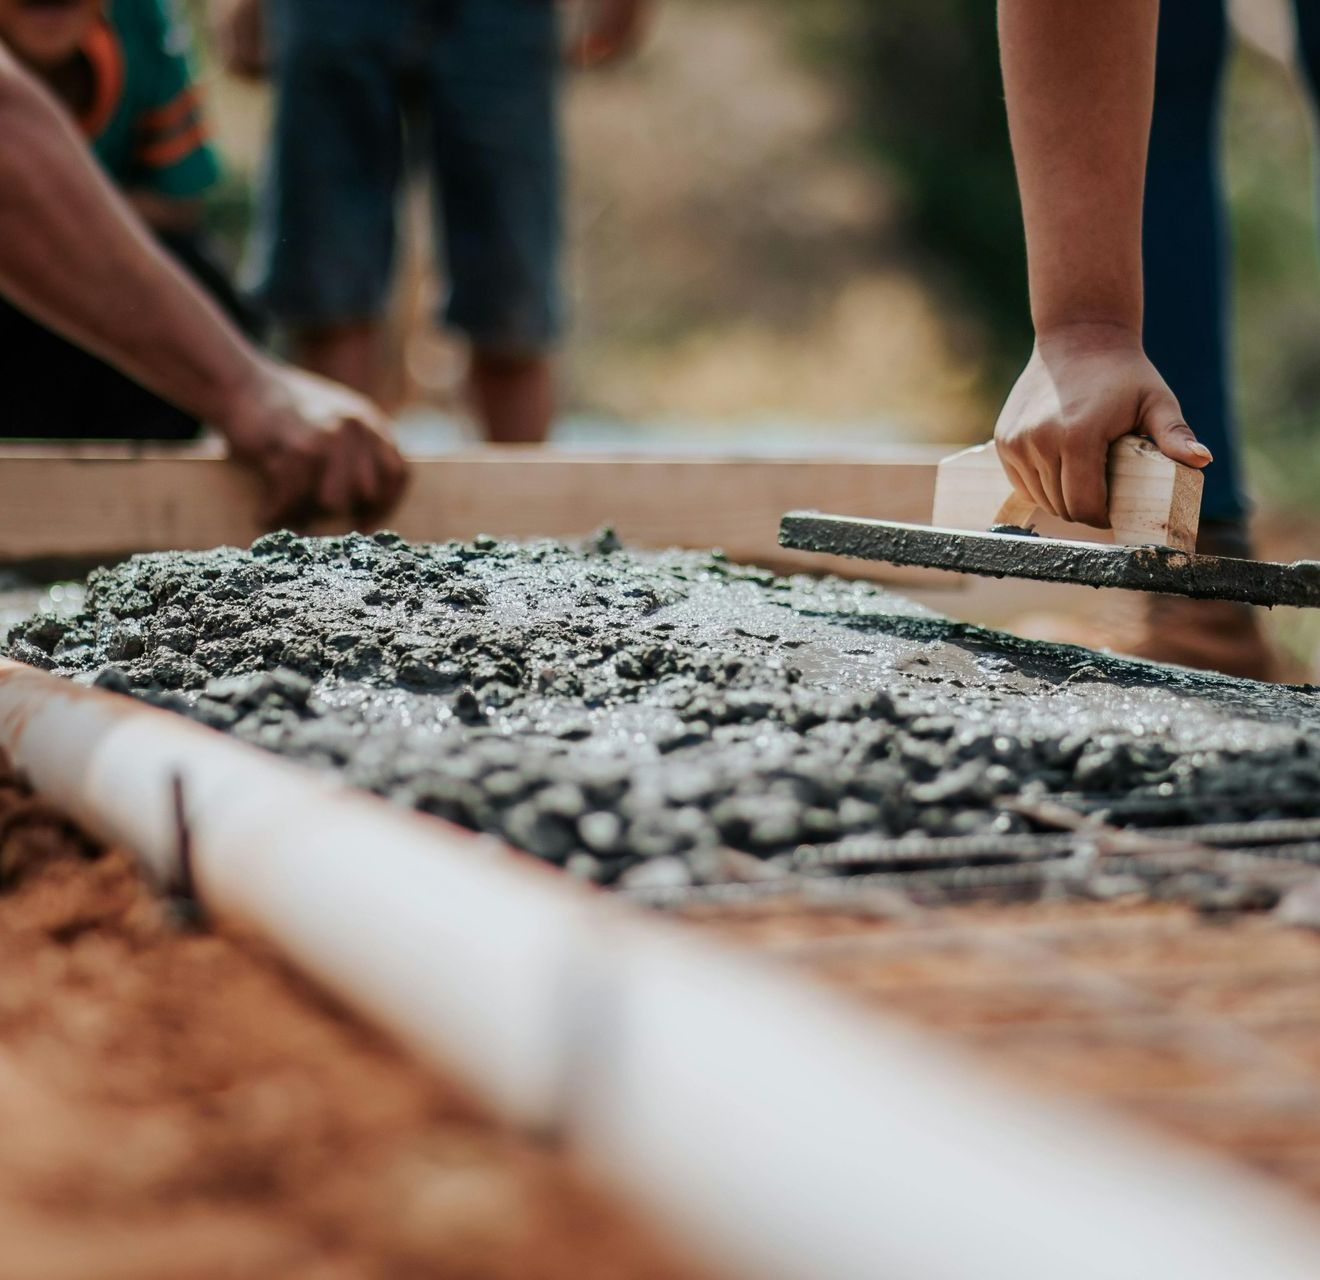
Step 2: Apply a coat of resurfacing concrete mix.
Applying a coat of resurfacing concrete mix is a great way to refresh your driveway. Like regular concrete, resurfacing concrete mix is available in various colours and finishes. You can add a nonslip additive to the mix for extra safety. To apply the resurfacing concrete mix, pour it into a paint tray and use a brush or roller to spread it evenly over the surface. Once it's dry, you'll have a brand-new look that will last for years.
Step 3: Allow the concrete to dry completely.
The essential step in creating a lasting concrete driveway is to allow the concrete to dry thoroughly before moving to the next step; this can take anywhere from 24 to 48 hours, depending on the climate and humidity levels. You risk cracking or damaging the driveway if you try to move too quickly. Once the concrete has time to set, you can begin adding your desired finishes. Whether you choose to stain, paint, or seal your patio, taking the time to let the concrete dry will ensure that your patio will last for years to come.
Step 4: Apply a second coat if needed.
The second coat of concrete can be a great way to improve the look of your driveway and extend its lifespan. Applying a second coat is a relatively simple process, but a few things to keep in mind. First, allow the first coat of concrete to cure completely before applying the second. Otherwise, the two coats may not bond properly, and you may have a weaker overall finish. Second, use a slightly thinner mix for the second coat of concrete; this will help to avoid any cracks or imperfections that may occur if the second coat is too thick. Finally, feather the edges of the second coat so that it blends smoothly with the first. With a bit of time and effort, applying the second coat of concrete can give your driveway an updated look that will last for years.
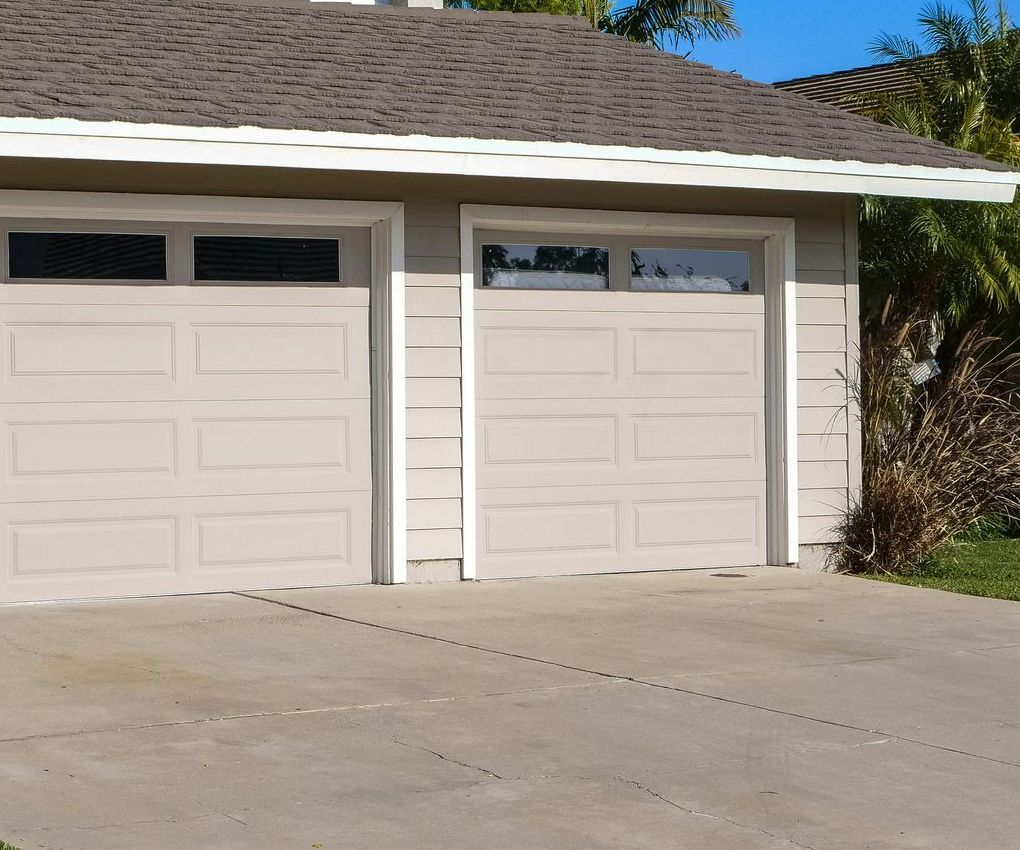
Step 5: Seal the surface once the renovation is complete for protection.
Once you've completed your driveway renovation, it's vital to seal the surface to protect it from weather damage and staining. There are two main types of sealer: film-forming and Penetrating. Film-forming sealers form a protective layer on the driveway's surface, while penetrating sealers soak into the pores of the concrete or asphalt, creating a barrier against water and stains. If your driveway is new, you'll want to choose a film-forming sealer to protect it from damage caused by weathering and UV rays. If your driveway is older, a penetrating sealer can help to restore its appearance and prevent further damage. Once you've chosen the correct type of sealer, apply it according to the manufacturer's instructions. You'll most likely need to wait 24 hours before driving on the driveway. But by taking this extra step, you'll protect your investment for years.
Resurfacing a driveway is a job that the homeowner can do if willing to take the time to learn how and have the proper tools. There are many online resources and even videos on how to do this type of project. Following accurate and proper steps is necessary to get good results.
If you are not comfortable accomplishing this job yourself, it is best to consult with professional concreters. They will be able to recommend you the best materials and methods for your specific driveway and climate conditions. They will also be capable of assessing the cost of having them do the work for you.
If you have any other questions about resurfacing your driveway or want a quote from us, please don't hesitate to call us at
08 9567 0487. We would be happy to help!
FREE INSTANT QUOTE!
**plus FREE bonus coupon**
Contact Us
You might also like